In this chapter, we will talk about applying textures with diffuse map. In 3D programming, texture is one of the most important parts because it provides that actual look and feel of an object by adding details on its surface.
JavaFX and PhongMaterial
In the javafx.scene.paint package, you can see a class that extends Material abstract class, the PhongMaterial. PhongMaterial allows to create virtual materials that can be applied over your 3D object to create real-world like objects.
Before diving directly in to the code, let’s have a look at what exactly is the Diffuse Map.
What is a Diffuse Map ?
According to the definition, Diffuse mapping (also know as texture mapping) refers to a computer graphics method that simply wrapped and mapped pixels from a texture to a 3D surface. It defines the color property of the surface. For example, if you want to color your object to red, you simply apply red diffuse map over it, it will become red.
If you would like to read more about it, have a look at cryengine doc.
Apply Color Over The Surface
JavaFX PhongMaterial provides two option to apply a diffuse map. Either using a color or using an image. If you use a color, then the whole object will be painted with that color.
Let’s see how setting a color works.
//Create Material
PhongMaterial material = new PhongMaterial();
//Applying JavaFX Diffuse Map with Color Royal Blue[/caption] Royal blue color
material.setDiffuseColor(Color.ROYALBLUE));
Box box = new Box(100, 20, 50);
//Apply material for the box
box.setMaterial(material);
JavaFX: Royal blue color applied as Diffuse Map
So, using the PhongMaterial’s setDiffuseColor(Color.ROYALBLUE), we set the color of the surface. You can set any color you want.
Apply Texture Over The Surface
Colors are suitable in some cases. But, in most cases, we need something more complex than some simple colors. JavaFX provides option to set diffuse map using an Image. You can simply apply any image as texture for your object.
Let’s see how a wooden texture works on our box.
//Create Material
PhongMaterial material = new PhongMaterial();
//Applying wooden texture
material.setDiffuseMap(new Image(getClass().getResourceAsStream("wood.jpg")));
Box box = new Box(100, 20, 50);
//Apply material for the box
box.setMaterial(material);
And it looks as follows. Pretty awesome, right?
JavaFX Diffuse Map with Woode Image
and that’s it. It is just 3 lines of code to apply a complex texture on your object. If you look at the set* methods of PhongMaterial, you will find a lot more methods. The thing is, diffuse map is just a start. You can make your objects with great amount of detail with these options. We will discover those methods in the upcoming chapters.
In this chapter, we will implement the mouse zoom control. Currently we have complete rotation freedom on the mouse. With Zoom in/out effect, we can control the Z-axis.
This zoom control will be based on mouse scrolling. JavaFX provides option to listen for mouse scroll event. We will make use of that.
//Attach a scroll listener
stage.addEventHandler(ScrollEvent.SCROLL, event -> {
        //Get how much scroll was done in Y axis.
	double delta = event.getDeltaY();
        //Add it to the Z-axis location.
	group.translateZProperty().set(group.getTranslateZ() + delta);
});
ScrollEvent.SCROLL allows to track the scrolling. JavaFX provides support for tracking horizontal scrolling (which can be obtained using event.getDeltaX()) as well as vertical scrolling (which can be obtained using event.getDeltaY()). Currently we are interested in vertical scrolling only.
When we scroll upward, the value will be positive. Then the Z axis value will increase and object will go away. When the scroll is downward, Z value will be decreased and the object will come closer.
When you begin with JavaFX, one problem you might come up with is the communication between different controllers to communicate between scenes. In this article, we will see how to properly communicate between two different controllers in JavaFX.
JavaFX Controller Communication Method
The solution here is to get the controller from FXMLLoader. We use JavaFX FXMLLoader for inflating fxml and loading new views. This loader has a method called getController(). getController method will return an instance of the controller corresponding to the view we are going to load.
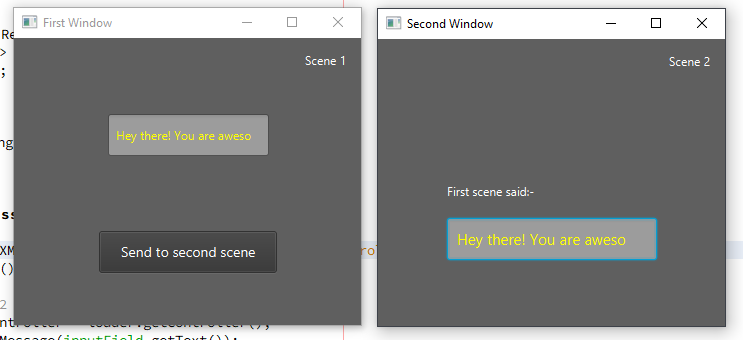
In this example, we take input to a text field from the user. When a button is clicked, new window will be opened and we pass the typed text to new window.
First Scene Controller
When the button actionBtn is clicked, a new window will be called which is the second scene window. We take the input from inputField textfield and pass it with transfer data.
public class Scene1Controller implements Initializable {

    @FXML
    private TextField inputField;
    @FXML
    private Button actionBtn;

    @Override
    public void initialize(URL url, ResourceBundle rb) {
        //When button clicked, load window and pass data
        actionBtn.setOnAction(event -> {
            loadSceneAndSendMessage();
        });
    }

    private void loadSceneAndSendMessage() {
        try {
            //Load second scene
            FXMLLoader loader = new FXMLLoader(getClass().getResource("/javafxcontrollercommunication/scene2/scene2.fxml"));
            Parent root = loader.load();

            //Get controller of scene2
            Scene2Controller scene2Controller = loader.getController();
            //Pass whatever data you want. You can have multiple method calls here
            scene2Controller.transferMessage(inputField.getText());

            //Show scene 2 in new window
            Stage stage = new Stage();
            stage.setScene(new Scene(root));
            stage.setTitle("Second Window");
            stage.show();
        } catch (IOException ex) {
            System.err.println(ex);
        }
    }
}
Second Scene Controller
This controller is elementary. You just have to write a method that accepts the string. Once the string is received, we set that in the display TextField.
public class Scene2Controller {
    @FXML
    private TextField display;

    //Receive message from scene 1
    public void transferMessage(String message) {
        //Display the message
        display.setText(message);
    }
}
Splash screens are awesome. They allows to engage users when the application load in the background as a loading screen. In this article, we will talk about implementing JavaFX Splash Screen / Loading Screen with animation. For the splash screen, we will provide a fade-in and fade-out transition.
Splash Screen with Fade Animation
In this example, when the program starts, the splash screen will fade in. After some time, the flash screen will fade out.
The algorithm is as follows
Load Preloader with a fade-in effect using FadeTransition
Remove Preloader with a fade-out effect using Fade transition.
On the end of fade-out load the actual content to the frame.
Watch the implementation:-
Let’s have a look at the code. The code is properly commented.
private void loadSplashScreen() {
	try {
		//Load splash screen view FXML
		StackPane pane = FXMLLoader.load(getClass().getResource(("myAwesomeSplashDesign.fxml")));
		//Add it to root container (Can be StackPane, AnchorPane etc)
		root.getChildren().setAll(pane);

		//Load splash screen with fade in effect
		FadeTransition fadeIn = new FadeTransition(Duration.seconds(3), pane);
		fadeIn.setFromValue(0);
		fadeIn.setToValue(1);
		fadeIn.setCycleCount(1);

		//Finish splash with fade out effect
		FadeTransition fadeOut = new FadeTransition(Duration.seconds(3), pane);
		fadeOut.setFromValue(1);
		fadeOut.setToValue(0);
		fadeOut.setCycleCount(1);

		fadeIn.play();

		//After fade in, start fade out
		fadeIn.setOnFinished((e) -> {
			fadeOut.play();
		});

		//After fade out, load actual content
		fadeOut.setOnFinished((e) -> {
			try {
				AnchorPane parentContent = FXMLLoader.load(getClass().getResource(("/main.fxml")));
				root.getChildren().setAll(parentContent);
			} catch (IOException ex) {
				Logger.getLogger(MainController.class.getName()).log(Level.SEVERE, null, ex);
			}
		});
	} catch (IOException ex) {
		Logger.getLogger(MainController.class.getName()).log(Level.SEVERE, null, ex);
	}
}
How to show splash screen until loading gets completed
Sometimes you may want to do some actual work like loading a database or importing something. In this case, we will have to do it in the background while splash screen is shown.
You can do the heavy lifting tasks on the setOnFinished() method of fade-in transition.
fadeIn.setOnFinished((e) -> {
    //Do the loading tasks
    DatabaseImporter.import();
    SomeComplexTask.start();
    //...
    //After the background tasks are done, load the fadeout
    fadeOut.play();
});
Problem with this approach
The above code works fine when the background tasks are not that much (when the tasks complete within couple of seconds max). But if it is a long task, then the JavaFX UI Thread will hang. In this case, you might have to use a separate thread for processing the background tasks.
The reliable solution
You can make use of JavaFX Tasks or JavaFX Services. Then using a task complete listener, you can initiate fade out transition.
fadeIn.setOnFinished((e) -> {
    //Start the Worker Task
    BackgroundWorkerTask task = new BackgroundWorkerTask();
    task.start();
    //After the completion of the task, start fadeOut animation
    task.setOnSucceeded(successEvent -> {
      fadeOut.play();
    });
});
So, that’s how you implement a JavaFX Splash Screen.
In this video tutorial, you can see how to make a splash screen in a separate window without window borders. Here, splash screen uses a separate stage.
In the previous chapter, we saw how to do the transforms with keyboard input. In this chapter, we take it a step further. Today, we will talk about JavaFX 3D Mouse Control implementation. Giving control using mouse is more reliable than keyboard. With mouse control, user can directly interact with the 3D application.
The basic idea is to track the mouse drag. Based on how much drag is made in x and y-axis, we apply rotation transformation.
The following method will do the trick.
 //Tracks drag starting point for x and y
 private double anchorX, anchorY;
 //Keep track of current angle for x and y
 private double anchorAngleX = 0;
 private double anchorAngleY = 0;
 //We will update these after drag. Using JavaFX property to bind with object
 private final DoubleProperty angleX = new SimpleDoubleProperty(0);
 private final DoubleProperty angleY = new SimpleDoubleProperty(0);

 private void initMouseControl(SmartGroup group, Scene scene) {
    Rotate xRotate;
    Rotate yRotate;
    group.getTransforms().addAll(
        xRotate = new Rotate(0, Rotate.X_AXIS),
        yRotate = new Rotate(0, Rotate.Y_AXIS)
    );
    xRotate.angleProperty().bind(angleX);
    yRotate.angleProperty().bind(angleY);

    scene.setOnMousePressed(event -> {
      anchorX = event.getSceneX();
      anchorY = event.getSceneY();
      anchorAngleX = angleX.get();
      anchorAngleY = angleY.get();
    });

    scene.setOnMouseDragged(event -> {
      angleX.set(anchorAngleX - (anchorY - event.getSceneY()));
      angleY.set(anchorAngleY + anchorX - event.getSceneX());
    });
  }
Let’s discuss the code parts.
Step 1: Prepare and apply initial rotation transformation
//Prepare X and Y axis rotation transformation obejcts
Rotate xRotate;
Rotate yRotate;
//Add both transformation to the container
group.getTransforms().addAll(
	xRotate = new Rotate(0, Rotate.X_AXIS),
	yRotate = new Rotate(0, Rotate.Y_AXIS)
);
/*Bind Double property angleX/angleY with corresponding transformation.
  When we update angleX / angleY, the transform will also be auto updated.*/
xRotate.angleProperty().bind(angleX);
yRotate.angleProperty().bind(angleY);
Step 2: Track starting of mouse drag.
It is necessary to track the drag start. Because, we will have to track how much the drag was happened in both axes.
A drag always start with a mouse press.
//Listen for mouse press -- Drag start with a click :-)
scene.setOnMousePressed(event -> {
  //Save start points
  anchorX = event.getSceneX();
  anchorY = event.getSceneY();
  //Save current rotation angle
  anchorAngleX = angleX.get();
  anchorAngleY = angleY.get();
});
Step 3: Calculate angle of rotation based on current drag point
When the user start dragging, after each pixel (or minor dragging), we will get a callback. We will check current (x,y) value and compare it with previous to calculate the rotation delta.
//Listen for drag
scene.setOnMouseDragged(event -> {
    /*event.getSceneY() gives current Y value. Find how much far away
      it is from saved anchorY point.
     */
    angleX.set(anchorAngleX - (anchorY - event.getSceneY()));
    angleY.set(anchorAngleY + anchorX - event.getSceneX());
});
It is important to note that, when the user drags in Y axis, we have to rotate based on X axis and vice versa (Try the opposite and see how much weird it is). The negative symbol in angleX is to set the direction of rotation. You can change the direction by changing the subtraction to addition.
In this article, we will have a deep look at JavaFX Animation. JavaFX provides easy to use animation API (javafx.animation package). There are some predefined animation that can be used out of the box or you can implement custom animations using KeyFrames.
Following are the main predefined animations in JavaFX.
TranslateTransition
Translate transition allows to create movement animation from one point to another within a duration. Using TranslateTransition#setByX / TranslateTransition#setByY, you can set how much it should move in x and y axis respectively. It also possible to set precise destination by using TranslateTransition#setToX / TranslateTransition#setToY.
import javafx.animation.TranslateTransition;
import javafx.application.Application;
import javafx.scene.Group;
import javafx.scene.Scene;
import javafx.scene.control.Button;
import javafx.stage.Stage;
import javafx.util.Duration;

public class Animation extends Application {
    @Override
    public void start(Stage primaryStage) throws Exception {
        Button btn = new Button("ClickMe");
        Group group = new Group(btn);
        Scene scene = new Scene(group, 600, 600);

        //Duration = 2.5 seconds
        Duration duration = Duration.millis(2500);
        //Create new translate transition
        TranslateTransition transition = new TranslateTransition(duration, btn);
        //Move in X axis by +200
        transition.setByX(200);
        //Move in Y axis by +100
        transition.setByY(100);
        //Go back to previous position after 2.5 seconds
        transition.setAutoReverse(true);
        //Repeat animation twice
        transition.setCycleCount(2);
        transition.play();

        primaryStage.setScene(scene);
        primaryStage.show();
    }
    public static void main(String[] args) {
        Application.launch(args);
    }
}
ScaleTransition
Scale transition is another JavaFX animation which can be used out of the box that allows to animate the scale / zoom of the given object. The object can be enlarged or minimized using this animation.
import javafx.animation.ScaleTransition;
import javafx.application.Application;
import javafx.scene.Group;
import javafx.scene.Scene;
import javafx.scene.control.Button;
import javafx.stage.Stage;
import javafx.util.Duration;

public class Animation extends Application {

  @Override
  public void start(Stage primaryStage) throws Exception {
    Button btn = new Button("Genuine Coder");
    Group group = new Group(btn);
    Scene scene = new Scene(group, 600, 600);

    //Duration = 2.5 seconds
    Duration duration = Duration.millis(2500);
    //Create new scale transition
    ScaleTransition scaleTransition = new ScaleTransition(duration, btn);
    //Set how much X should enlarge
    scaleTransition.setByX(1.5);
    //Set how much Y should
    scaleTransition.setByY(1.5);
    scaleTransition.play();

    primaryStage.setScene(scene);
    primaryStage.show();
  }

  public static void main(String[] args) {
    Application.launch(args);
  }
}
RotateTransition
Rotate transition provides animation for rotating an object. We can provide upto what angle the node should rotate by toAngle. Using byAngle we can specify how much it should rotate from current angle of rotation.
import javafx.animation.RotateTransition;
import javafx.application.Application;
import javafx.scene.Group;
import javafx.scene.Scene;
import javafx.scene.control.Button;
import javafx.stage.Stage;
import javafx.util.Duration;

public class Animation extends Application {

  @Override
  public void start(Stage primaryStage) {
    Button btn = new Button("Genuine Coder");
    Group group = new Group(btn);
    Scene scene = new Scene(group, 600, 600);

    //Duration = 2.5 seconds
    Duration duration = Duration.millis(2500);
    //Create new rotate transition
    RotateTransition rotateTransition = new RotateTransition(duration, btn);
    //Rotate by 200 degree
    rotateTransition.setByAngle(200);
    rotateTransition.play();

    primaryStage.setScene(scene);
    primaryStage.show();
  }

  public static void main(String[] args) {
    Application.launch(args);
  }
}
FadeTransition
Fade transition creates a fade in / fade out effect by controlling opacity of the object. We can make fade in transition or fade out transition in JavaFX by setting the to and from value.
//Fade in transition
FadeTransition fadeInTransition = new FadeTransition(Duration.millis(1500), btn);
fadeInTransition.setFromValue(0.0);
fadeInTransition.setToValue(1.0);

//Fade out transition
FadeTransition fadeOutTransition = new FadeTransition(Duration.millis(1500), btn);
fadeOutTransition.setFromValue(1.0);
fadeOutTransition.setToValue(0.0);
PathTransition
Path transition provides option to move object through a specified path. The path can be anything from simple straight line to complex quadratic curves. Following code rotates button through a circular path locate at (200,200) with radius 50
import javafx.animation.PathTransition;
import javafx.application.Application;
import javafx.scene.Group;
import javafx.scene.Scene;
import javafx.scene.control.Button;
import javafx.scene.shape.Circle;
import javafx.stage.Stage;
import javafx.util.Duration;

public class Animation extends Application {

  @Override
  public void start(Stage primaryStage) {
    Button btn = new Button("Genuine Coder");
    Group group = new Group(btn);
    Scene scene = new Scene(group, 600, 600);

    //Create new path transition
    PathTransition pathTransition = new PathTransition();
    pathTransition.setDuration(Duration.millis(2500));
    //Set node to be animated
    pathTransition.setNode(btn);
    //Rotate button through a circular path locate at (200,200) with radius 50
    pathTransition.setPath(new Circle(200, 200, 50));

    pathTransition.play();

    primaryStage.setScene(scene);
    primaryStage.show();
  }

  public static void main(String[] args) {
    Application.launch(args);
  }
}
Combine Animation Sequentially with SequentialTransition
Sequential transition allows to combine two or more transition we have discussed so far. After the completion of one transition, the next will be started. The following code will apply rotate transition and scale transition sequentially.
//Create rotate transition
RotateTransition rotateTransition = new RotateTransition(Duration.seconds(1));
rotateTransition.setByAngle(180f);
//Create scale transition
ScaleTransition scaleTransition = new ScaleTransition(Duration.seconds(1));
scaleTransition.setByX(1.5f);

//First do rotateTransition, then do scaleTransition
SequentialTransition sequentialTransition = new SequentialTransition(rotateTransition, scaleTransition);
sequentialTransition.play();
Combine Animation Parallely with ParallelTransition
Parallel transition is very much similar to sequential transition. Except, it works on parallel. All the animations applied will be played in parallel. We can specify two or more transition to execute in parallel.
//Create rotate transition
RotateTransition rotateTransition = new RotateTransition(Duration.seconds(1));
rotateTransition.setByAngle(180f);
//Create scale transition
ScaleTransition scaleTransition = new ScaleTransition(Duration.seconds(1));
scaleTransition.setByX(1.5f);

//Play both rotateTransition as well as scaleTransition in prallel
ParallelTransition sequentialTransition = new ParallelTransition(rotateTransition, scaleTransition);
sequentialTransition.play();
KeyFrame Animation
KeyFrame animation is one of the most key features of JavaFX Animation. The API javafx.animation.KeyFrame can be used to animate any JavaFX property. For example, let’s say you want to animate width of your application window. You can use widthProperty with KeyFrame to animate the width of your application window.
Watch video on using KeyFrame animation to create slide-in effect in JavaFX.
The following example loads a scene with slide in effect using JavaFX KeyFrame API
Parent root = getNextSceneRoot();
parentContainer.getChildren().add(root);

//Create a timeline instance
Timeline timeline = new Timeline();
//Create a keyValue. We need to slide in -- We gradually decrement Y value to Zero
KeyValue kv = new KeyValue(root.translateYProperty(), 0, Interpolator.EASE_IN);
//Create keyframe of 1s with keyvalue kv
KeyFrame kf = new KeyFrame(Duration.seconds(1), kv);
//Add frame to timeline
timeline.getKeyFrames().add(kf);

//Start animation
timeline.play();
In this chapter we familiarized with JavaFX animation API. JavaFX provides a good set of predefined animation set and a powerful KeyFrame animation API.
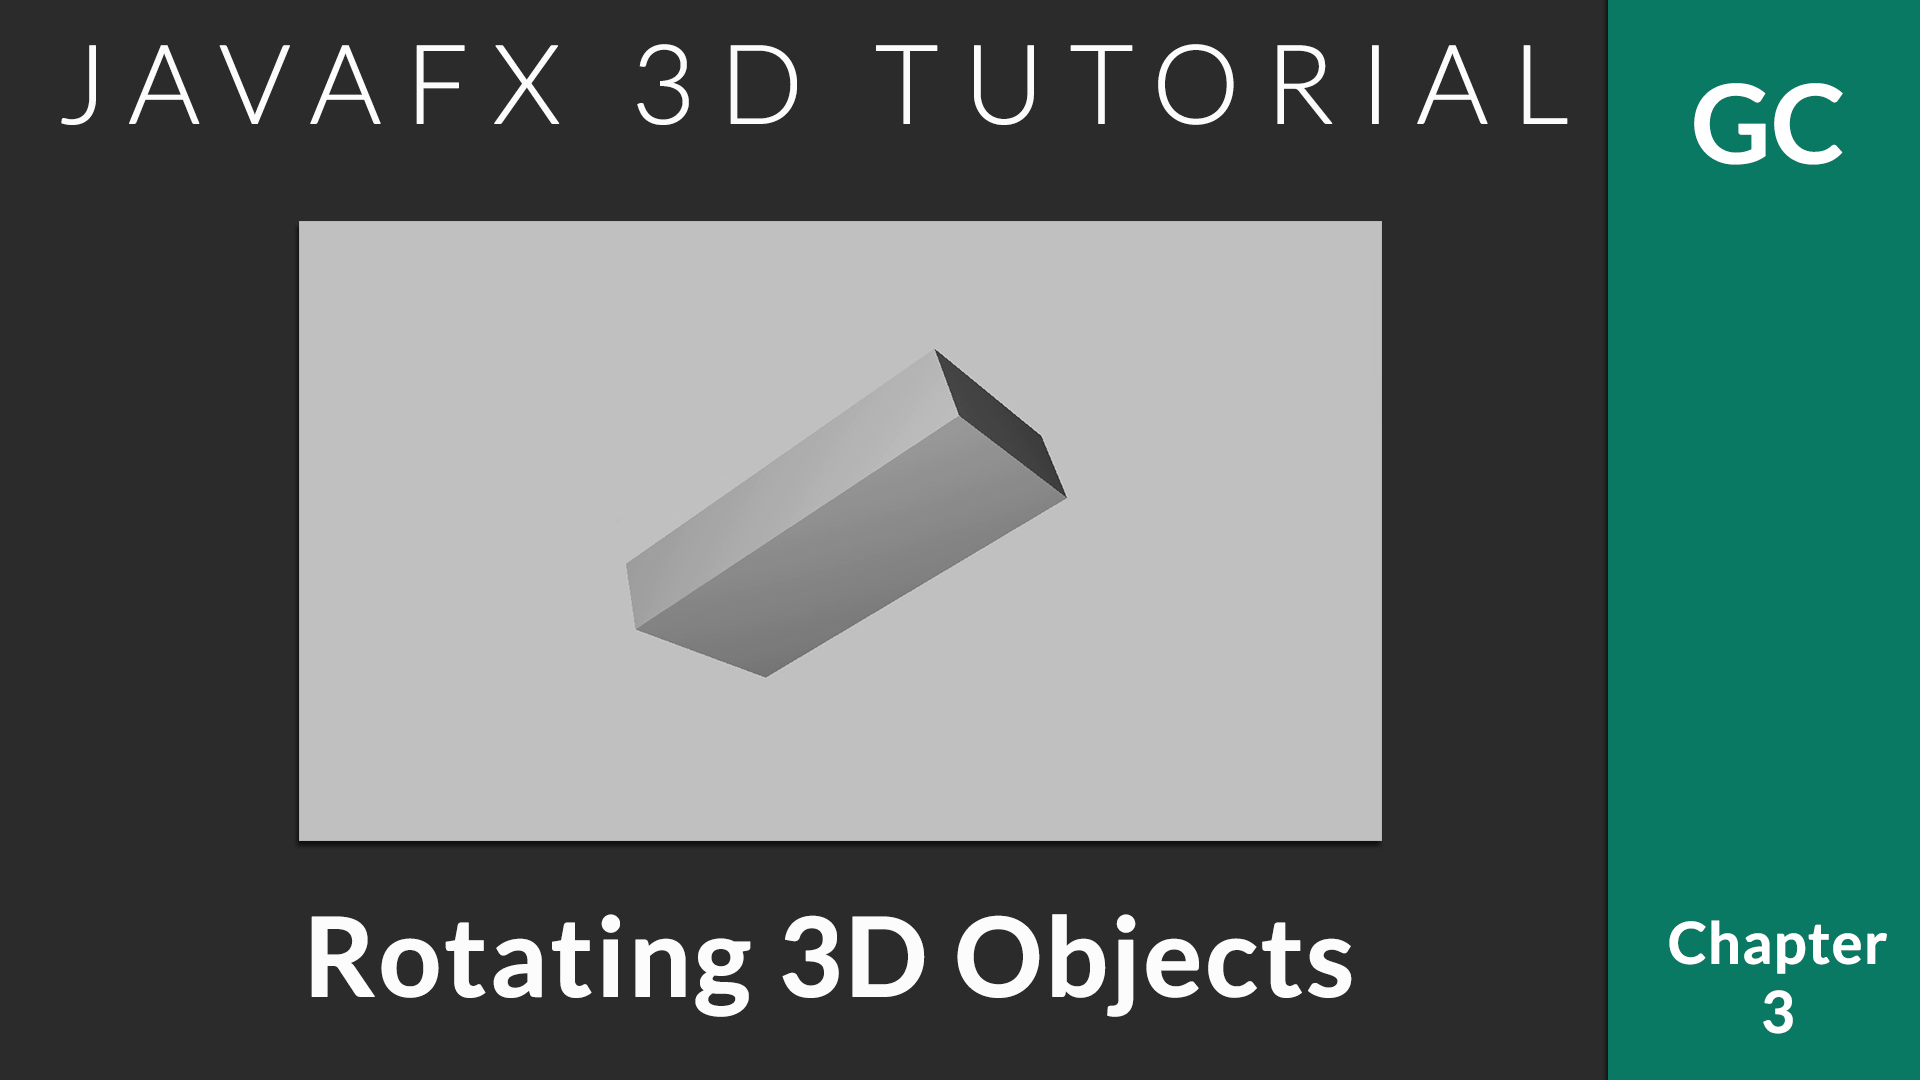
For now, we make use of Rotate transformation. All the transformations can be applied in a similar manner.
Applying Transforms
All JavaFX nodes have the method getTransforms() that will return an observable list of all the transforms applied on that. You can simple add a new transform by
 Transform whatever = new Transform();
 yourObject.getTransforms().add(whatever);
When applying transform, it is important that you take care of existing transformation. Let’s say, your object is currently rotated 30 degrees, when you rotate it again by 10, you have to add with 30.
This can be achieved using createConcatenation() method that combines two transformations.
Transformable Container
When we work on 3D programming, we will have to do the transformation regularly. The following class helps to do this in the easy way.
class SmartGroup extends Group {
    Rotate r;
    Transform t = new Rotate();

    void rotateByX(int ang) {
      r = new Rotate(ang, Rotate.X_AXIS);
      t = t.createConcatenation(r);
      this.getTransforms().clear();
      this.getTransforms().addAll(t);
    }

    void rotateByY(int ang) {
      r = new Rotate(ang, Rotate.Y_AXIS);
      t = t.createConcatenation(r);
      this.getTransforms().clear();
      this.getTransforms().addAll(t);
    }
  }
With this SmartGroup, you can separate the rotation logic. It also remembers previous rotation values.
With this, you can rotate an object or a set of objects (the whole container) as follows.
    SmartGroup group = new SmartGroup();
    //Add all the components
    group.getChildren().addAll(box, sphere);

    //Rotate by X - 10 degrees
    group.rotateByX(10);
    //Make it 20
   group.rotateByX(10);
Listen for Keyboard Inputs
You can register for keyboard press events using KeyEvent.KEY_PRESSED. We have to attach a keyboard listener to the stage itself so that all the key events can be tracked.
primaryStage.addEventHandler(KeyEvent.KEY_PRESSED, event -> {
   //Process according to the key pressed.
   switch (event.getCode()) {
   }
});
Working Example
import javafx.application.Application;
import javafx.scene.Camera;
import javafx.scene.Group;
import javafx.scene.PerspectiveCamera;
import javafx.scene.Scene;
import javafx.scene.input.KeyEvent;
import javafx.scene.paint.Color;
import javafx.scene.shape.Box;
import javafx.scene.transform.Rotate;
import javafx.scene.transform.Transform;
import javafx.stage.Stage;


/**
 * @author afsal villan
 * @version 1.0
 *
 * https://genuinecoder.com
 */
public class Rotation3D extends Application {

  private static final int WIDTH = 1400;
  private static final int HEIGHT = 800;

  @Override
  public void start(Stage primaryStage) {
    //Create box
    Box box = new Box(100, 20, 50);

    //Prepare transformable Group container
    SmartGroup group = new SmartGroup();
    group.getChildren().add(box);

    Camera camera = new PerspectiveCamera();
    Scene scene = new Scene(group, WIDTH, HEIGHT);
    scene.setFill(Color.SILVER);
    scene.setCamera(camera);

    //Move to center of the screen
    group.translateXProperty().set(WIDTH / 2);
    group.translateYProperty().set(HEIGHT / 2);
    group.translateZProperty().set(-1200);

    //Add keyboard control.
    primaryStage.addEventHandler(KeyEvent.KEY_PRESSED, event -> {
      switch (event.getCode()) {
        case W:
          group.translateZProperty().set(group.getTranslateZ() + 100);
          break;
        case S:
          group.translateZProperty().set(group.getTranslateZ() - 100);
          break;
        case Q:
          group.rotateByX(10);
          break;
        case E:
          group.rotateByX(-10);
          break;
        case NUMPAD6:
          group.rotateByY(10);
          break;
        case NUMPAD4:
          group.rotateByY(-10);
          break;
      }
    });

    primaryStage.setTitle("Genuine Coder");
    primaryStage.setScene(scene);
    primaryStage.show();
  }


  public static void main(String[] args) {
    launch(args);
  }

  class SmartGroup extends Group {

    Rotate r;
    Transform t = new Rotate();

    void rotateByX(int ang) {
      r = new Rotate(ang, Rotate.X_AXIS);
      t = t.createConcatenation(r);
      this.getTransforms().clear();
      this.getTransforms().addAll(t);
    }

    void rotateByY(int ang) {
      r = new Rotate(ang, Rotate.Y_AXIS);
      t = t.createConcatenation(r);
      this.getTransforms().clear();
      this.getTransforms().addAll(t);
    }
  }
}
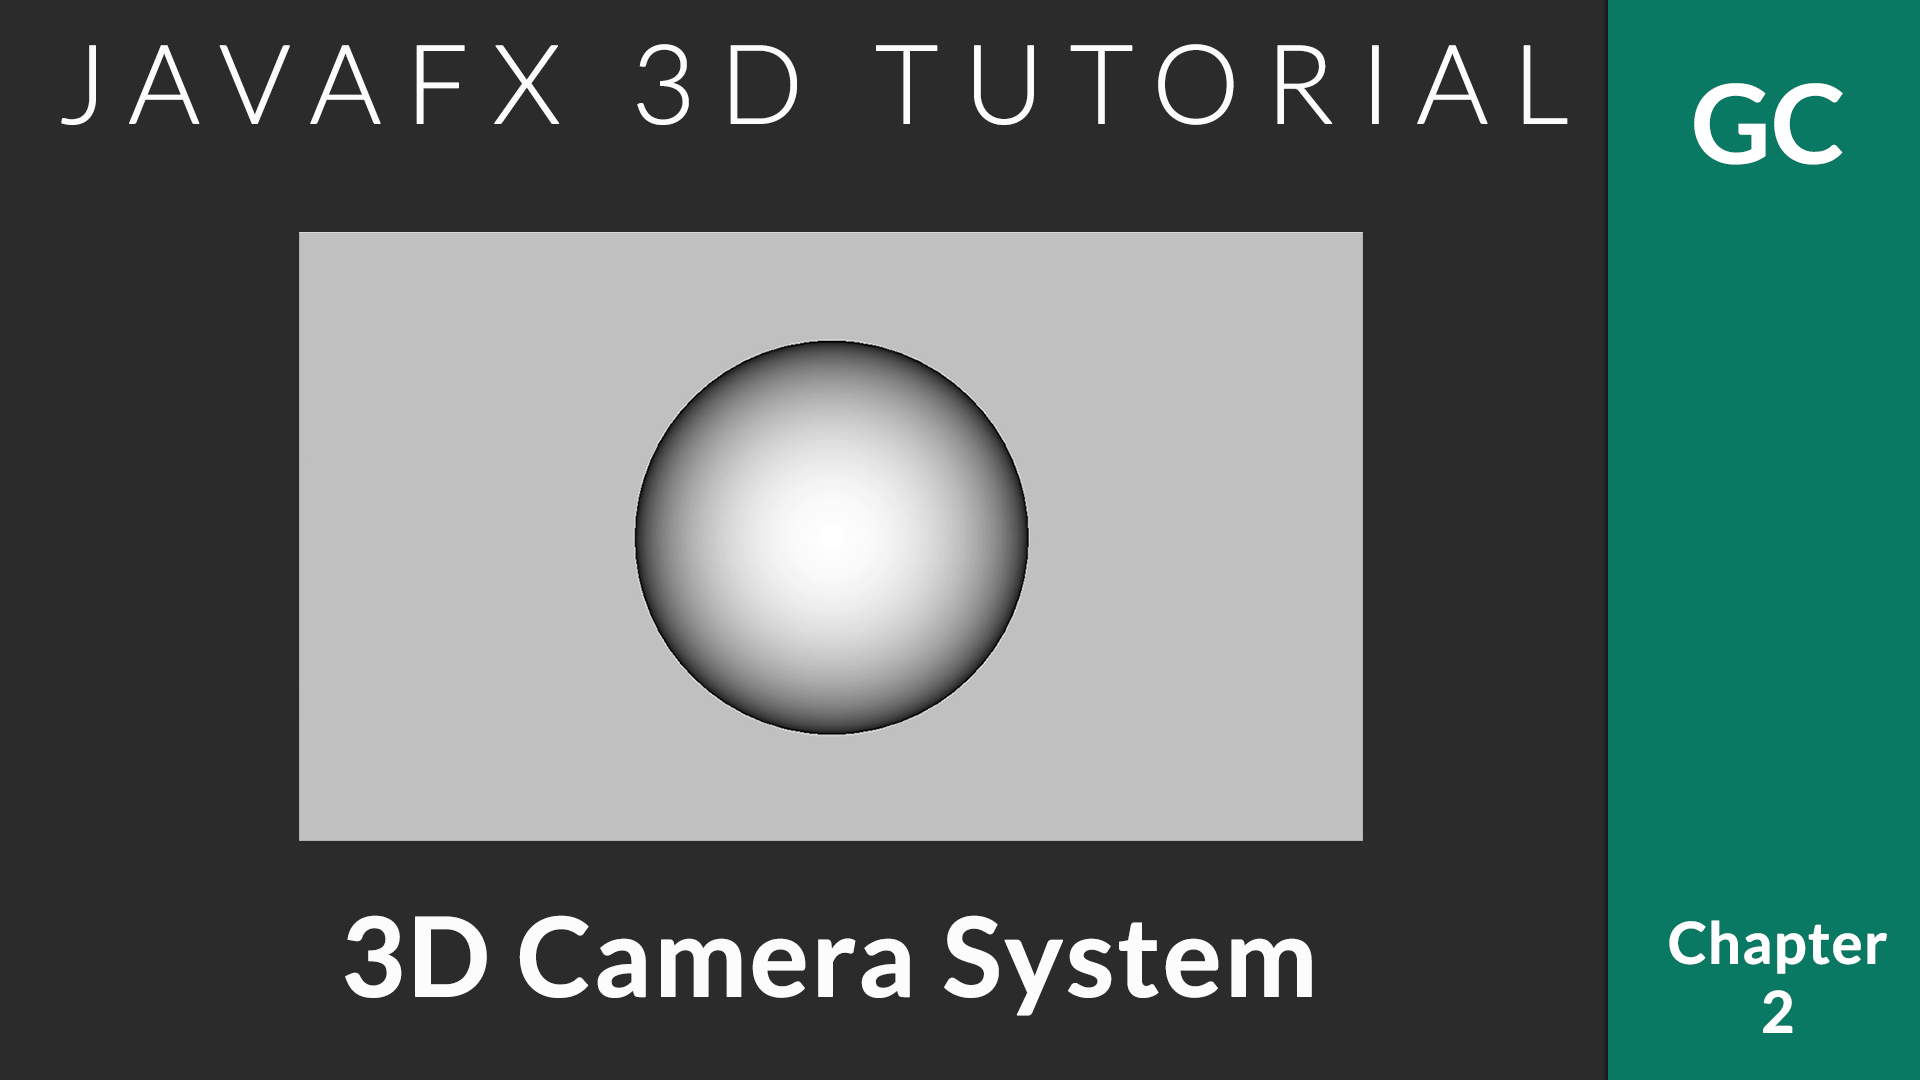
By default, JavaFX provides a camera that allows to view the world from the negative z position. When we have to look at the world from our own angle, we need a custom camera.
JavaFX camera component extends javafx.scene.Node. It can be added to the scene graph just like any other JavaFX components. We have 2 different cameras available.
1: Parallel Camera
Parallel Camera always render the objects in same size. This camera defines a viewing volume for a parallel (orthographic) projection; a rectangular box. This camera is always located at center of the window and looks along the positive z-axis. It is not really useful when you want to look at the objects from a certain point.
ParallelCamera camera = new ParallelCamera();
//..Attach to scene
scene.setCamera(camera);
2: Perspective Camera
This camera allows to look at the object from a point. As per the documentation,
“This camera defines a viewing volume for a perspective projection; a truncated right pyramid. The fieldOfView value can be used to change viewing volume. This camera is always located at center of the scene and looks along the positive z-axis. The coordinate system defined by this camera has its origin in the upper left corner of the panel with the Y-axis pointing down and the Z axis pointing away from the viewer (into the screen).”
It has two constructors
PerspectiveCamera()
PerspectiveCamera(boolean fixedEyeAtCameraZero)
If fixedEyeAtCameraZero is true, the eye position is fixed at (0, 0, 0) in the local coordinates of the camera. A fixedEyeAtCameraZero as true guarantees that after the eye of the PerspectiveCamera moves along with it, and remains at the camera’s zero position.
PerspectiveCamera camera = new PerspectiveCamera(true);
//..Attach to scene
scene.setCamera(camera);
Field of View
Field of view defines how much we can see in the 3D scene. A larger field of view angles provides a wider view –> you can see more things. This can be set as
camera.setFieldOfView(double value);
Clipping Planes
Clipping planes allows to defines that part of the 3D world that we are interested to see. Anything closer to the eye than the near clipping distance isn’t displayed (it’s too close), and anything further away from the eye than the far clipping distance isn’t displayed either (it’s too far away).
import javafx.application.Application;
import javafx.scene.*;
import javafx.scene.input.KeyEvent;
import javafx.scene.paint.Color;
import javafx.scene.shape.Sphere;
import javafx.stage.Stage;

/**
 * @author afsal villan
 * @version 1.0
 *
 * https://genuinecoder.com
 */
public class Camera3D extends Application {
    private static final int WIDTH = 1400;
    private static final int HEIGHT = 800;

    @Override
    public void start(Stage primaryStage) throws Exception {
        Sphere sphere = new Sphere(50);

        Group group = new Group();
        group.getChildren().add(sphere);

        //Create new Camera
        Camera camera = new PerspectiveCamera(true);
        Scene scene = new Scene(group, WIDTH, HEIGHT);
        scene.setFill(Color.SILVER);
        //Attach to scene
        scene.setCamera(camera);

        //Move back a little to get a good view of the sphere
        camera.translateZProperty().set(-500);

        //Set the clipping planes
        camera.setNearClip(1);
        camera.setFarClip(1000);

        primaryStage.addEventHandler(KeyEvent.KEY_PRESSED, event -> {
            switch (event.getCode()) {
                case W:
                    camera.translateZProperty().set(camera.getTranslateZ() + 100);
                    break;
                case S:
                    camera.translateZProperty().set(camera.getTranslateZ() - 100);
                    break;
            }
        });

        primaryStage.setTitle("Genuine Coder");
        primaryStage.setScene(scene);
        primaryStage.show();
    }


    public static void main(String[] args) {
        launch(args);
    }
}
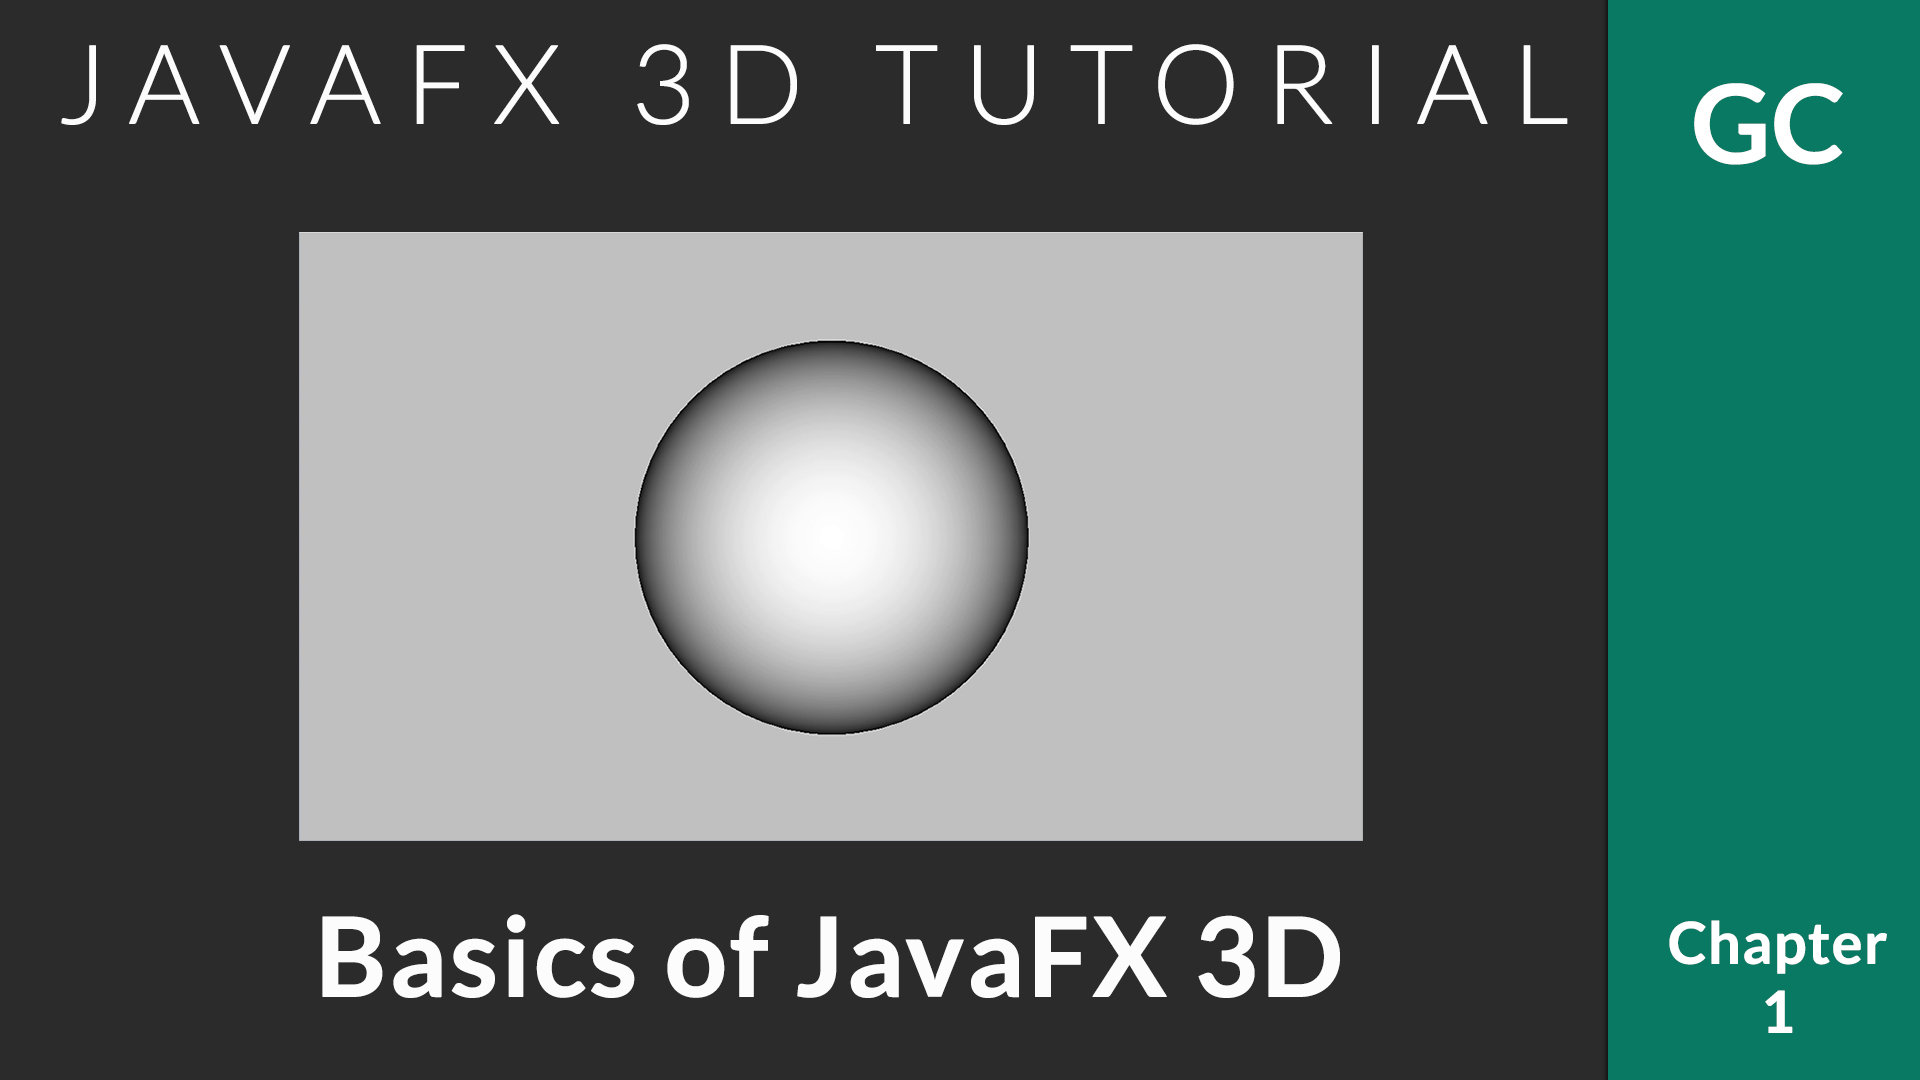
This is the the first chapter of JavaFX 3D Tutorial.
JavaFX provides an easy to use 3D API. It provides GPU based acceleration and hence can make use of latest powerful hardware. In this tutorial series, we will learn about using JavaFX 3D in our everyday applications.
Course Introduction
JavaFX 3D Coordinates
When we dive in to 3D application development, the most important part is the coordinate system. You have to understand how the x, y and z-axis changes in the screen. The following image describes the coordinate system in JavaFX 3D.
X increases when you go from left to right
Y increases when you go from top to bottom
Z increases when the objects goes away from you.
JavaFX 3D Camera System
Camera defines how we see an object. When you want to transform an object, you can either work on the object or the camera.
JavaFX rotation concept. Taken from tutorial video
So, let’s say you want to rotate an object. You can do this either by rotating the object or rotating the camera around the object itself.
JavaFX provides set of predefined 3D objects. You can create your own custom 3D shapes if you want. But to start with, these predefined shapes are the best.
import javafx.application.Application;
import javafx.scene.Camera;
import javafx.scene.Group;
import javafx.scene.PerspectiveCamera;
import javafx.scene.Scene;
import javafx.scene.input.KeyEvent;
import javafx.scene.paint.Color;
import javafx.scene.shape.Sphere;
import javafx.stage.Stage;

/**
 * @author afsal villan
 * @version 1.0
 *
 * https://genuinecoder.com
 */
public class Sphere3D extends Application {

  private static final int WIDTH = 1400;
  private static final int HEIGHT = 800;

  @Override
  public void start(Stage primaryStage) {
    Sphere sphere = new Sphere(50);

    Group group = new Group();
    group.getChildren().add(sphere);

    Camera camera = new PerspectiveCamera();
    Scene scene = new Scene(group, WIDTH, HEIGHT);
    scene.setFill(Color.SILVER);
    scene.setCamera(camera);

    sphere.translateXProperty().set(WIDTH / 2);
    sphere.translateYProperty().set(HEIGHT / 2);

    primaryStage.addEventHandler(KeyEvent.KEY_PRESSED, event ->{
      switch (event.getCode()) {
        case W:
          sphere.translateZProperty().set(sphere.getTranslateZ() + 100);
          break;
        case S:
          sphere.translateZProperty().set(sphere.getTranslateZ() - 100);
          break;
      }
    });

    primaryStage.setTitle("Genuine Coder");
    primaryStage.setScene(scene);
    primaryStage.show();
  }

  public static void main(String[] args) {
    launch(args);
  }
}
Let’s break down the code.
Create a new sphere.
The predefined Sphere shape is available in javafx.scene.shape.Shape3D package. You can simply create an instance. The parameter specifies the radius.
Sphere sphere = new Sphere(50);
Create a group as container
Group group = new Group();
group.getChildren().add(sphere);
Prepare camera
JavaFX provides two camera systems. Parallel camera and perspective camera. Perspective camera allows to view objects from a specified point. You can simply create an instance and attach it to the scene.
//Create a new perspective camera
Camera camera = new PerspectiveCamera();
//Attach camera to scene
scene.setCamera(camera);
Move sphere to center of the screen
We can move the 3D object around using translateProperty. Here the object is moved to center of the screen.
Add keyboard listener to control Z-axis / Zoom.
The z-axis can be controlled using translateZProperty. Currently, using KeyEvent.KEY_PRESSED event handler, we can listener for keyboard input. When ‘W’ is pressed, the object goes away from the user as the z gets increased and when ‘S’ is pressed, vice versa.
When you try to clone private repositories for the first time from an account, you may get following error.
Permission denied (publickey).
Permission denied (publickey) fatal : Could not read from remote repository

Please make sure you have the correct access rights
and the repository exists.
This article helps you on fixing this issue. The root cause here is that the remote repository don’t trust you. In order to gain access to the repo, you have to create an SSH key and register that key in your git repository.
Steps to add SSH key in Gitlab
Run CMD/Powershell/Terminal with administrative (sudo) privilege. (In windows run cmd as administrator. In linux execute ‘sudo su’ to get root privilege).
Type ssh-keygen.
You will see the following. Here you will be asked for the location where the SSH key will be saved. Press enter to accept default or enter your custom location.
Generating public/private rsa key pair.
Enter file in which to save the key (C:\Users\yourUsername/.ssh/id_rsa):
Git will ask you to save the key to the specific directory.You will be asked for a password. Make sure you remember it since it will be needed for cloning.
Enter passphrase (empty for no passphrase):
The public key will be created to the specific directory.
Now go to the directory you have specified in Step 2 and open .ssh folder.
You’ll see a file id_rsa.pub. Open it on notepad. Copy all text from it.
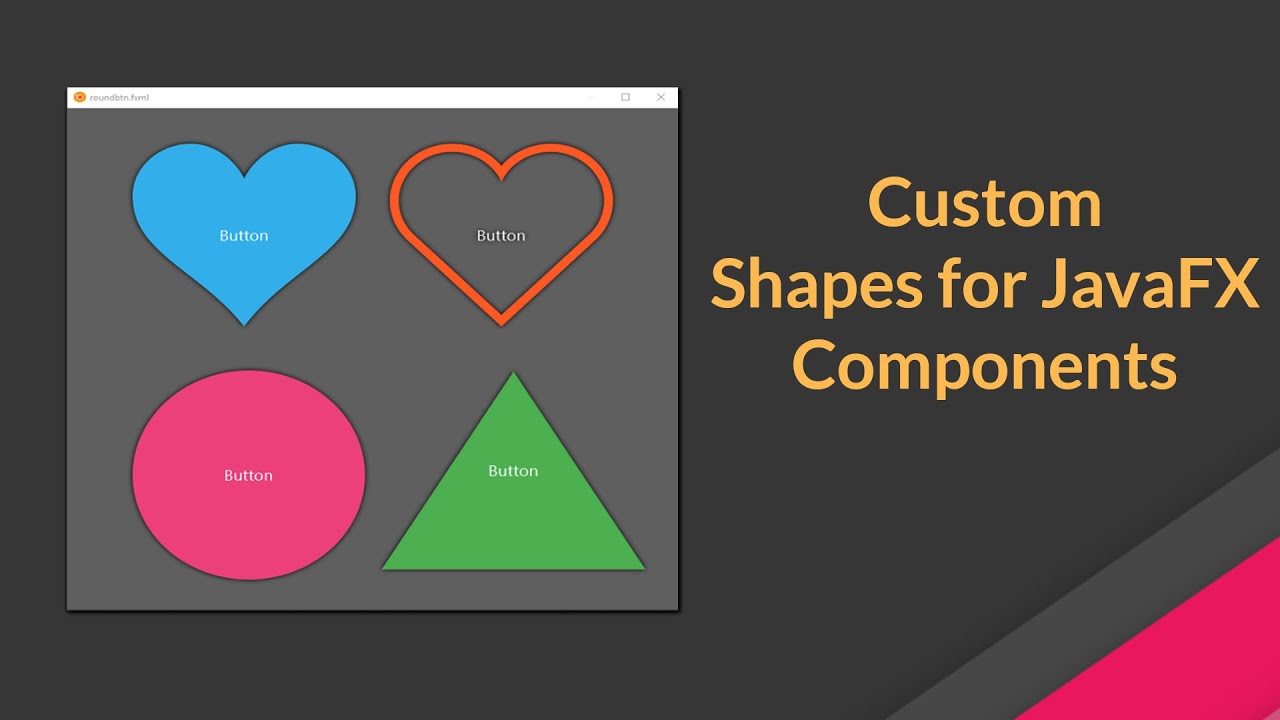
JavaFX allows great customization options. You can easily customise and reuse component designs using CSS. In this article, we will see how to apply custom shapes for any GUI component*.
Which components support custom shapes ?
All the components extending javafx.scene.layout.Region supports custom shapes with -fx-shape CSS. So, this can be applied to almost all the components including but not limited to Containers, Charts, Buttons, ListViews etc.
SVG Path
-fx-shape takes SVGPath. SVGPath is simply a string that can be interpreted as a complex shape. For example, following SVGPath creates a heart shape.
JavaFX Scene Builder is a visual layout aka WYSIWYG tool that allows users to quickly design JavaFX application user interfaces without coding. You can easily create great looking user interfaces with just drag and drop of components.
JavaFX Scene builder save the design as FXML format. These files can be directly loaded to the JavaFX programs. It is written in Java and is available in all major platforms. It provides nice options like ability to add embedded CSS, generate controller skeleton etc.
Watch the tutorial video: JavaFX scene builder tutorial for beginners.
Making Responsive GUI
Making GUI responsive is very important. Nowadays the device sizes varies from handheld to wall TVs. Using the right containers and component configurations, it is possible to quickly develop JavaFX GUI using scene builder.
Watch the tutorial on Making GUI responsive with Scene Builder.
JavaFX Observable is an entity that wraps content and allows to observe the content for invalidations. In simple terms, Observable allows to observe data in your application. In our everyday programming, we come up with cases where we have to constantly check whether the variable value has changed. With JavaFX observable, we can bind or attach listeners to data so that all the changes will be tracked.
Basic Addition
Let’s consider a case of adding two variables as follows.
private void sumNonObservable() {
   int a = 10;
   int b = 10;
   int sum = a + b;
   System.out.println(sum); //20
   //Change value of a now
   a = 20;
   //Sum is still 20
   System.out.println(sum); //20
}
This code shows a simple addition. Two variables a=10 and b=10 are added and assigned to sum. Then later, a is changed to 20. The sum won’t change.
Observable Addition
What if you wanted the sum to track its components. Let’s say when a was changed to 20, you needed the sum to automatically become 30 without doing another addition?. Well, JavaFX has the right solution.
Let’s write the above addition in JavaFX observable way.
private void sumObservable() {
   //Create two simple observable integers.
   SimpleIntegerProperty a = new SimpleIntegerProperty(10);
   SimpleIntegerProperty b = new SimpleIntegerProperty(10);

   //Add them with built-in add() function
   NumberBinding sum = a.add(b);

   //Answer = 20
   System.out.println(sum.getValue());
   a.set(20);

   //Answer = 30
   System.out.println(sum.getValue());
}
SimpleIntegerProperty is a built-in observable class that stores integer value with Observable support. Then a.add(b) will return a NumberBinding which keeps the sum of a and b. The advantage is, the sum is now listening on a and b and whatever change is made to a or b or both, it will be immediately reflected to the sum.
Similar to SimpleIntegerProperty, there are lots of default implementation for different types of variables. Some of them are
We have seen how observables are useful in arithmetics. Well, that is just the tip of the iceberg. Let’s see how we can make use of observable listeners.
Following code example prints a message whenever a variable’s value is changed.
 private static void observable() {
     SimpleIntegerProperty smartVar = new SimpleIntegerProperty(10);
     smartVar.addListener(new ChangeListener<Number>() {
            @Override
            public void changed(ObservableValue<? extends Number> observable, Number oldValue, Number newValue) {
                System.out.println("Changed to " + newValue);
            }
    });
    smartVar.set(5);
    smartVar.set(25);
}
and the Output is:-
Changed to 5
Changed to 25
So, whenever the value is changed, the ChangeListener will be called.
You can add two types of listeners to an observable.
ChangeListener
A ChangeListener is notified whenever the value of an ObservableValue changes.
InvalidationListener
An InvalidationListener is notified whenever an Observable becomes invalid.
What is the difference between ChangeListener and InvalidationListener ?
An ObservableValue generates two types of events; change events and invalidation events. A change event indicates that the value has changed. An invalidation event is generated, if the current value is not valid anymore.This distinction becomes important, if the ObservableValue supports lazy evaluation. Because for a lazily evaluated value one does not know if an invalid value really has changed until it is recomputed. For this reason, generating change events requires eager evaluation while invalidation events can be generated for eager and lazy implementations.
ChangeListeners in contrast to InvalidationListeners require the new value to be passed to them. So, adding any ChangeListener results in get() being called and every invalidation call triggers a call of computeValue.
Now, If you still need more info on this topics, please have a look at the following tutorial video.
Fake Image Detection using machine learning is a neural network based project written in Java with JavaFX that helps to identify tampered / faked / photoshopped images.
The objective of this project is to identify fake images(Fake images are the images that are digitally altered images). The problem with existing fake image detection system is that they can be used detect only specific tampering methods like splicing, coloring etc. We approached the problem using machine learning and neural network to detect almost all kinds of tampering on images.
Using latest image editing softwares, it is possible to make alterations on image which are too difficult for human eye to detect. Even with a complex neural network, it is not possible to determine whether an image is fake or not without identifying a common factor across almost all fake images. So, instead of giving direct raw pixels to the neural network, we gave error level analysis image.
Fake image detection projects introduces two different levels of analysis for the image. At first level, it checks the image metadata. Image metadata is not that much reliable since it can be altered using simple programs. But most of the images we come across will have non-altered metadata which helps to identify the alterations. For example, if an image is edited with Adobe Photoshop, the metadata will contain even the version of the Adobe Photoshop used.
Working
A multilayer perceptron neural network is used having one input layer, 3 hidden layers and 1 output layer. Once the image is selected for evaluation, it is converted to ELA representation from Compression and Error Level Analysis stage. 100%, 90% images are used for the construction of ELA image.
Once ELA is calculated, the image is preprocessed to convert into 100x100px width and height. After preprocessing, the image is serialized in to an array. The array contains 30,000 integer values representing 10,000 pixels. Since each pixel has red, green and blue components, 10,000 pixels will have 30,000 values.
During training, the array is given as input to the multilayer perceptron network and output neurons also set. The MLP is a fully connected neural network. There are 2 output neurons. First neuron is for representing fake and the second one for real image. If the given image is fake one, then the fake neuron is set to one and real is set to zero. Else fake is set to zero and real set to one.
We have used momentum backpropagation learning rule adjust the neuron connection weights. It is a supervised learning rule that tries to minimize the error function. The chosen learning rate and momentum along with achieved efficiency is given in Table 3.
During testing, the image array is fed into the input neurons and values of output neurons are taken. We have used sigmoid activation function.